Why We Made the Switch
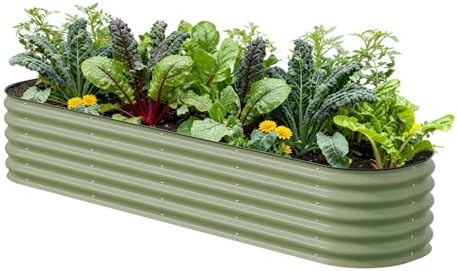
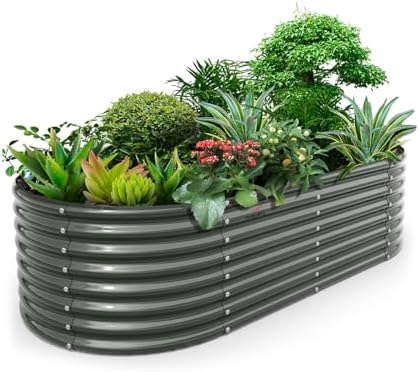
We didn’t start with raised beds. For our first couple of seasons, we were doing it the old-fashioned way — tilling up ground, fighting clay soil that turned to concrete in July, and wondering why our yields were so inconsistent. Then we built our first four raised beds as a trial, and by fall we were already planning to build more.
If you’re on the fence about raised beds, this is the honest breakdown: what worked, what we’d do differently, and whether it’s actually worth the upfront cost and labor.
What We Got Right the First Time
Location, Location, Location
We picked a spot that gets full sun from about 8am to 6pm — no compromise there. Vegetables need at least 6 hours of direct sun, and 8+ is better for tomatoes, peppers, and squash. Before you build a single bed, spend a day watching your yard and charting the sun. We almost put our first beds in a spot that got shaded out by a tree line every afternoon. Glad we caught that before hauling lumber.
Building for Longevity
We used 2×10 cedar boards for our first set of beds. Cedar is naturally rot-resistant, doesn’t leach anything into your soil, and in our climate has held up for three seasons without significant deterioration. Some people use treated lumber — the modern ACQ-treated stuff is generally considered safe, but we didn’t want any uncertainty around food crops, so we stuck with cedar.
Our beds are 4 feet wide. That’s the magic number. You should be able to reach the center from either side without stepping in the bed, which is the whole point — you never compact the soil you’re growing in.
The Soil Mix
This is where raised beds earn their keep. We filled ours with a mix of topsoil, compost, and a little coarse perlite for drainage — roughly 60/30/10. Year over year, we top-dress with a few inches of compost in early spring and the beds just keep getting better. Compare that to our in-ground sections where we’re still fighting subsoil issues years later.
What We’d Do Differently
We’d Build Bigger Beds Sooner
Our first four beds were 4×4. They felt like plenty at the time. Now we wish we’d started with 4x8s or even 4x12s. The longer the bed, the more efficient your space — you spend the same amount of money on corner hardware and roughly the same time building, but you get twice the growing area. We eventually rebuilt three of those first beds into longer configurations, which meant some wasted lumber and effort.
We’d Put Landscape Fabric Under Every Bed
We skipped this on our first two beds and spent two full seasons pulling grass and thistle that crept up through the bottom. Now we lay down a double layer of heavy landscape fabric before filling. It doesn’t stop everything forever, but it buys you years before you have to deal with it.
We’d Factor in Irrigation From Day One
Hand-watering four small beds is fine. Hand-watering twelve is a chore. We ended up retrofitting a simple drip irrigation system after year two. If we’d planned for it upfront, we could have run the main line before filling the beds and saved ourselves a lot of digging. A basic drip timer and emitter kit costs less than $50 and will save you hours every week during the growing season.
We’d Use Hardware Cloth on the Bottom
We have voles. If you have voles, moles, or gophers in your area, line the bottom of your beds with 1/4-inch hardware cloth before you fill them. We lost an entire row of carrots in year one before we figured out what was tunneling up from underneath. The hardware cloth adds maybe $10-15 per bed and is completely worth it.
Are Raised Beds Worth It?
Yes — but go in with realistic expectations. The upfront cost is real. Good lumber, soil fill, and hardware will run you $100-200 per bed depending on size and materials. What you get in return: better drainage, warmer soil in spring, no tilling, and complete control over your soil quality. Our raised bed yields have been consistently 2-3x better than comparable ground-planted sections. After year one, the math starts working in your favor fast.
We’re at 14 raised beds now and still adding. It’s the best investment we’ve made in the garden side of this homestead.
What We Use
- Lumber: Cedar 2x10s from your local lumber yard
- Corner hardware: Metal raised bed corner brackets
- Soil: 60% topsoil / 30% compost / 10% perlite mix
- Irrigation: Basic drip kit on a timer — run it before you fill the beds
- Bottom liner: Double layer landscape fabric + 1/4-inch hardware cloth in vole country
Have questions about our setup? Drop them in the comments.