Georgia summers don’t ease you in. One week you’re planting tomatoes in pleasant 75-degree weather, and three weeks later it’s 96 degrees with humidity that makes the air feel like soup. We learned the hard way that hand-watering raised beds through a Zone 7a summer is a losing battle. Drip irrigation fixed all of that.
Why Hand Watering Wasn’t Cutting It
For the first couple of seasons, we watered by hose. The problem with hand watering raised beds is consistency — you water the surface, it looks wet, but the roots two inches down are dry. Then you water too much to compensate and the roots sit in standing water.
We also lost plants to irregular watering during busy weeks. Miss two days during a heat spike and peppers drop blossoms, tomatoes crack, and the whole bed looks stressed. Drip irrigation eliminates those variables. The plants get the same amount of water at the roots every single day, regardless of what else is going on.
Watering from overhead in Georgia summers also encourages fungal disease. Wet leaves in high humidity is a recipe for blight. Drip keeps the foliage dry and the water where it belongs.
What We’re Actually Running
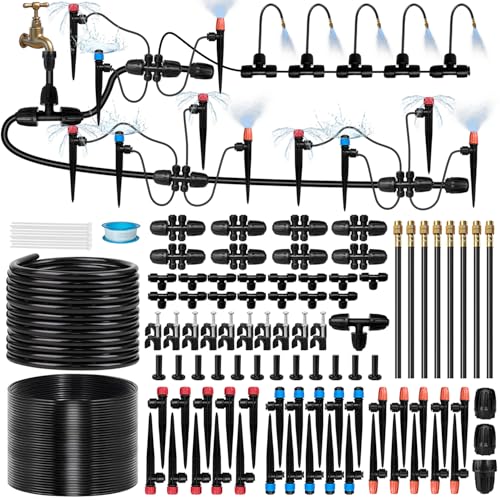
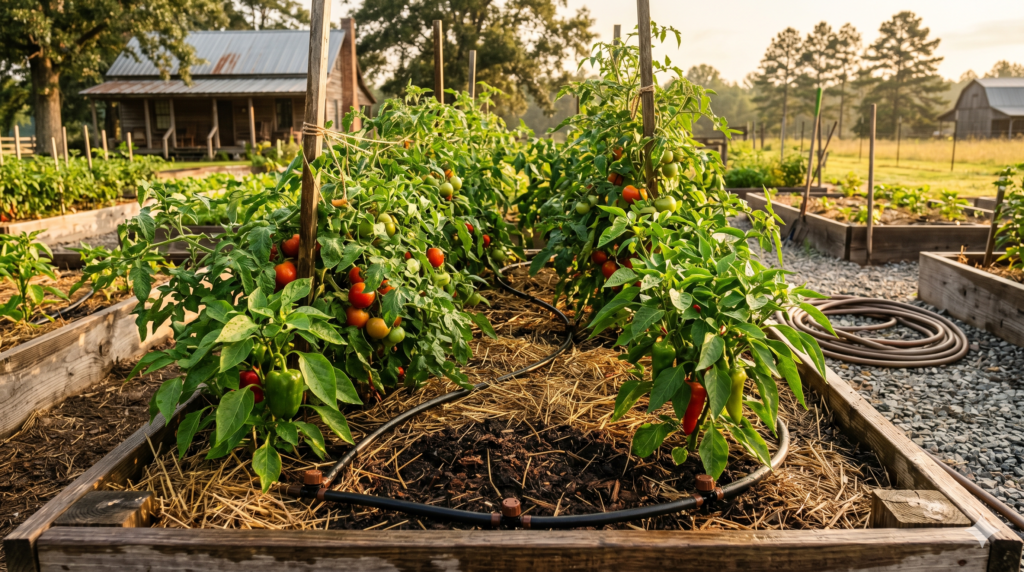
Our setup is straightforward. We run a main 1/2-inch poly supply line along the back of the raised beds, connected to the hose bib with a timer, a filter, and a pressure regulator. Off that main line, we run 1/4-inch emitter tubing into each bed with either drip emitters or a soaker line depending on what’s planted.
For tomatoes and peppers, we use individual 1-gallon-per-hour emitters placed at the base of each plant. For dense plantings like lettuce or herbs, we run a soaker line in an S-pattern through the bed. Both approaches work — it just depends on plant spacing.
The timer is the piece we’d never go back on. We set it to run 30 minutes every morning at 6am before the heat kicks in. The whole system cost us under $60 for two 4×8 beds — less than we lost in dead plants the previous summer.
Setting It Up Step by Step
Start at the hose bib and work outward. The order on the hose thread matters: timer first, then backflow preventer, then pressure regulator (drip systems run at 20-30 PSI, not 60+), then filter, then your main supply line.
Lay the 1/2-inch main line along your beds and stake it down. Punch holes with a barbed fittings tool wherever you want to branch off, push the 1/4-inch tubing in, and add emitters or soaker line at the end.
Cap every open end — any uncapped line drains your pressure and leaves emitters barely trickling. Do a full test run before you cover anything with mulch. Walk the system, confirm every emitter is flowing, then mulch over the lines 2-3 inches deep to slow evaporation and protect tubing from UV.
What We’d Do Differently
We’d size up the timer from the start. The basic mechanical single-zone timer works but if you have beds in multiple spots you’ll want a two-outlet digital timer. We replaced ours mid-season.
We’d also run more main line than we thought we needed. Adding a bed later and splicing in an extension is more work than just having extra length coiled up from the beginning. It’s cheap — just buy extra.
Don’t skip the filter. Even on city water, sediment clogs emitters fast. A $5 inline filter saves you from hunting down one clogged emitter that’s been starving a plant for two weeks.
The Results After One Full Season
We ran this setup through last summer with zero plant losses from water stress. Tomato yields were the best we’ve had. Peppers were consistent from July through first frost. The beds pretty much took care of themselves on the watering side, which freed up time for everything else on the property that actually needs hands-on work.
If you’re still hand-watering raised beds through a southern summer, set this up before June hits. A few hours of installation and $60 in parts will do more for your garden than anything else you could spend that time or money on.